
Cabinet sanding is an essential procedure in the process of refinishing wooden cabinets. This technique not only prepares the surface for further treatment but also influences the overall appearance and durability of the finish. By removing old paint, varnish, or imperfections from the surface, sanding creates a smooth, even foundation that enhances the application of stains or paints, leading to a professional-looking result. Without proper sanding, even the highest quality finishes may falter due to poor adhesion or unsightly blemishes.
The importance of sanding cannot be overstated; it is a crucial step that determines the success of the refinishing project. The sanding process allows for better absorption of primers and paints, ensuring that the finish adheres correctly. This not only improves the aesthetic qualities of the cabinets but also increases their longevity by providing a protective coat that withstands daily wear and tear. A well-sanded surface helps in achieving a uniform look which is vital, especially in kitchens where cabinetry is a focal point.
It is crucial to understand the different types of sanders available for cabinet work, as each has its specific applications and advantages. From orbital sanders to detail sanders and belt sanders, selecting the appropriate tool can significantly simplify the job and improve the quality of the results. Each type of sander varies in terms of surface area, speed, and grit compatibility, making them suitable for different aspects of cabinet sanding. As we delve deeper into the realm of sanding tools, it will become evident how critical each choice is to achieve optimal refinishing outcomes.
Types of Sanders and Their Uses
When it comes to sanding cabinets, selecting the appropriate sander can significantly impact both the efficiency of the task and the quality of the finished product. Several types of sanders are widely available, each with unique features and optimal applications.
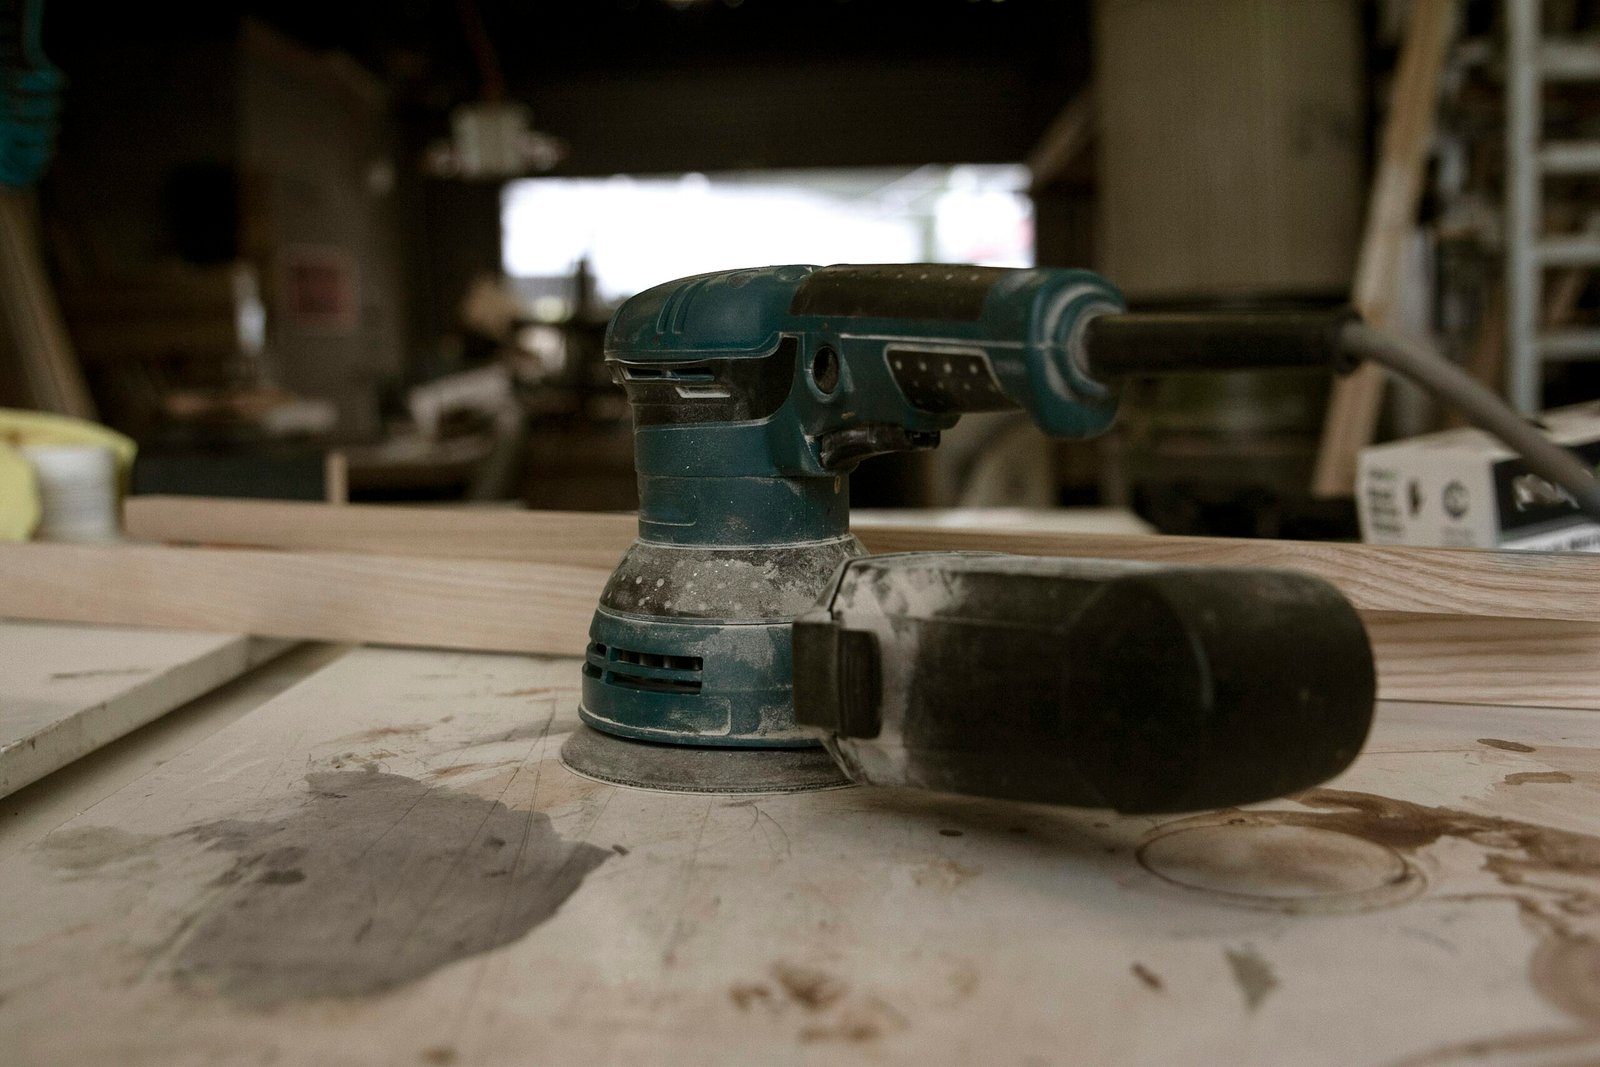
The orbital sander utilizes a circular sanding pad that moves in a random orbit, minimizing swirl marks. This type is particularly effective for achieving a smooth finish on cabinet surfaces. Its lightweight design allows for easy maneuverability, making it a favorite among DIY enthusiasts and professionals alike. However, orbital sanders may not be as aggressive in removing material as some other sanders, so they are often best suited for final finishing stages.
In contrast, the belt sander offers a more powerful approach, featuring a continuous loop of sandpaper. This tool excels at quickly removing material and is ideal for preparing rough surfaces. It is particularly beneficial when sanding larger cabinets or when significant material removal is necessary. The downside, however, is the potential to create gouges if not used carefully, requiring more practice and attention during operation.
Another useful option is the detail sander, designed for intricate work and hard-to-reach areas. This sander typically features a triangular shape that allows it to fit into corners and other tight spots often found in cabinetry. While incredibly versatile, detail sanders are best reserved for finishing work rather than heavy material removal due to their smaller sanding surface.
Finally, drum sanders offer exceptional performance for larger projects, allowing for the quick removal of large quantities of material. However, these should primarily be used in professional settings, as they can be cumbersome and require specific setups.
By understanding the different types of sanders available and their specific functions, you can make a well-informed decision when selecting the best sander for your cabinet project, ultimately enhancing the overall quality of your work.
Key Features to Consider When Choosing a Sander
When selecting the ideal sander for cabinetry projects, various features play a crucial role in ensuring optimal performance and usability. The first aspect to consider is power. A sander’s power, typically measured in watts or amps, directly influences its ability to sand various materials effectively. For cabinets, a sander with sufficient power capacity allows for deeper sanding, removing old finishes without excessive effort. Ideally, users should opt for a sander that strikes a balance between power and controllability for precise work.
Another essential feature to evaluate is the speed settings of the sander. Different tasks may require different speeds; for example, finer finishes may benefit from lower speeds, whereas removing finishes may necessitate higher speeds. A versatile sander that offers adjustable speed settings enables users to adapt to specific project needs, resulting in better finishes on cabinetry.
Dust collection capabilities are critical when choosing a sander, especially for indoor projects where cleanliness is paramount. High-quality sanders often include built-in dust collection systems that significantly reduce mess and improve visibility while working. This feature not only makes for a cleaner work environment but also enhances air quality, reducing health risks associated with inhaling dust particles from sanding.
Weight and size are additional factors to consider. A lightweight sander is easier to manipulate and maneuver, especially in tighter spaces or when working on intricate cabinet designs. On the other hand, some larger sanders may offer enhanced stability for extensive surfaces. It’s vital to assess personal comfort with the tool’s weight and size to ensure prolonged use without fatigue.
By carefully considering these features—power, speed settings, dust collection, weight, and size—users can select a sander that best fits their specific cabinet refinishing requirements, ensuring efficient completion of the project.
Sanding Techniques for Cabinets
Sanding is a critical step in the cabinet finishing process, as it prepares the surface for paint or stain application. Implementing effective sanding techniques can significantly enhance the final appearance and durability of the cabinets. The first step is to plan your sanding order. Begin with the largest flat surfaces, such as cabinet doors and side panels. After completing these areas, focus on edges, corners, and any intricate details. Completing flat surfaces first allows for a more even finish and reduces the potential for missed spots.
When addressing intricate areas, such as grooves and ornate designs, use sanding sponges or small sanding blocks that can easily conform to various shapes. These tools provide better control, allowing you to reach tight spaces without damaging the surrounding areas. If necessary, consider using a detail sander for exceptionally delicate sections. Remember to use progressively finer grits as you sand. Start with a coarser grit (around 80-100) to remove imperfections and old finishes, then gradually move to finer grits (up to 220) for a smooth finish. This technique minimizes the risk of gouging or leaving an uneven texture on the surfaces.
Another common mistake during the sanding process is applying excessive pressure, leading to uneven surfaces and potential damage. Instead, utilize light, consistent strokes, allowing the sandpaper to do the work. Regularly check your progress by feeling the surface with your hand; it helps identify rough spots and inconsistencies. Additionally, consider sanding with the grain of the wood whenever possible, as this reduces the appearance of scratches and enhances the natural beauty of the wood. Adopting these sanding techniques will help ensure that your cabinets attain a professional-level finish, ultimately enhancing the aesthetics of your space.
Safety Precautions While Sanding
When engaging in cabinet sanding, safety should always be a top priority. The process of sanding generates dust and debris that can pose serious health risks if proper precautions are not taken. One of the most crucial steps is the use of personal protective equipment (PPE). It is essential to wear a dust mask or respirator to protect your lungs from inhaling fine particles that can cause respiratory issues. Additionally, safety goggles should be employed to shield your eyes from flying debris, which can lead to injuries and irritation.
Proper ventilation is also vital during the sanding process. Adequate air circulation helps to minimize the concentration of airborne dust particles, thus reducing inhalation risks. If you’re working indoors, consider using exhaust fans, opening windows, or, if possible, moving your project outside to ensure a safer environment. This not only keeps the workspace cleaner but also helps in clearing out toxic fumes from any finishes or coatings you may use.
Moreover, safe handling of sanding equipment is crucial. Always follow the manufacturer’s instructions regarding the use of sanders and ensure that tools are in good working condition before use. Inspect the equipment for any damage, such as frayed cords or worn parts, as these can pose additional hazards. When using a hand sander, maintain a firm grip to control the tool effectively and avoid injury. It is also advisable to secure your workspace to prevent slips, trips, or falls by keeping the area free of clutter.
By adhering to these safety precautions, individuals can significantly reduce the risks associated with cabinet sanding and create a safer working environment. Proper planning and attention to safety can make the sanding process more efficient and enjoyable.
Recommended Sanders for Cabinet Projects
When it comes to selecting the best sander for cabinets, certain models stand out due to their performance, versatility, and user-friendly features. Here are some recommended sanders that cater specifically to cabinet projects, emphasizing their unique strengths.
The Bosch ROS20VSC is a highly regarded random orbit sander known for its powerful 2.5-amp motor that effectively handles the demands of sanding cabinets. This model features variable speed control, allowing users to adjust the sanding pace to their specific requirements. Its dust collection system is efficient, minimizing cleanup time, which is particularly advantageous when working indoors. The ergonomic design ensures comfortable use over extended periods, making it an excellent choice for detailed cabinet work.
Another impressive option is the DeWalt DWE6423K, a 5-inch random orbit sander that combines power and precision. This sander is equipped with a high-performance motor, providing a smooth finish without the risk of damaging the wood. The Velcro-style sanding disc attachment simplifies the changing of pads, while the rubberized grip offers enhanced comfort. Its compact design allows for easy maneuverability, especially in tight cabinet spaces, making it a popular choice among professionals and DIY enthusiasts alike.
For those considering an economic option, the Black+Decker BDERO100 offers fantastic value for money. This palm sander is lightweight and user-friendly, perfect for anyone looking to tackle small cabinet projects. With a 2.0-amp motor and built-in dust bag, it provides adequate power and cleanliness in sanding tasks. While it may not have all the features of more high-end models, its cost-effective design ensures that it remains a reliable choice for beginners.
Each of these sanders presents distinct advantages that can enhance the efficiency and quality of cabinet projects. By considering their features and performance, users can make informed decisions tailored to their specific sanding needs.
Maintenance Tips for Your Sander
To ensure your sander remains in peak operating condition, regular maintenance is essential. Proper upkeep not only prolongs the lifespan of your electrical tool but also enhances its performance, leading to smoother results on your cabinets. Here are some crucial maintenance tips for your sander.
Firstly, cleaning your sander after each use is vital. Dust and wood particles can accumulate, affecting its efficiency. To clean, detach the sanding pad and use a dry brush or compressed air to remove debris from the dust collection area. Additionally, checking the sanding pads for wear is important. If you notice any damage, replacing them promptly is advisable to maintain optimum sanding performance.
Storage practices also play a significant role in your sander’s longevity. Always store the tool in a dry and cool environment, avoiding exposure to excessive moisture and heat, which can damage the internal components. Consider utilizing a protective case or a designated shelf to keep the tool secure when not in use. This can prevent unnecessary wear and reduce the risk of damage from accidental drops or other tools.
Moreover, after each sanding task, it is prudent to inspect the power cord and plug for any signs of wear or fraying. Addressing these issues immediately can prevent electrical hazards and ensure safe operation during subsequent uses. Additionally, periodically checking the sander’s motor and internal parts for dust accumulation is recommended, as this can also affect performance.
In conclusion, following these maintenance tips will help you achieve the best results from your sander while extending its life. Regular cleaning, proper storage, and inspections can help keep your tool in optimal condition for all your cabinet projects.
Cost Considerations When Choosing a Sander
When selecting a sander for cabinetry projects, understanding the financial implications is critical. The price of sanders can vary widely based on factors such as type, brand, and inherent features. For instance, handheld models like detail sanders can start at a lower price point, typically ranging from $30 to $100, while more advanced options, such as belt or orbital sanders, can cost anywhere from $100 to over $300.
Brand reputation plays a significant role in determining the cost of a sander. Established brands known for their quality and reliability often command higher prices. Investing in a trusted brand can lead to better build quality and durability, which may save money in the long run, as a high-quality sander may not require replacement or repairs as frequently as cheaper alternatives.
Another factor influencing the cost is the features included. Sanders with advanced features, such as dust collection systems or variable speed settings, typically cost more. However, these features can enhance usability and improve the finishing process on cabinets, leading to time savings and better results. It is worthwhile to evaluate whether these additional features align with your specific needs or if they are simply added costs.
Budgeting for a sander involves not only the initial purchase price but also potential future expenses, such as replacement parts, specific sanding sheets, or accessories. To maximize value, it is advisable to compare models, read reviews, and consider purchasing during sales or through trusted online retailers that may offer discounts. By carefully assessing your options and needs, it is possible to choose a sander that fits both your budget and project requirements effectively.
Conclusion and Final Tips
Choosing the ideal sander for cabinet work can significantly influence the quality and efficiency of your sanding projects. Throughout this blog post, we have explored various types of sanders, including orbital, belt, disk, and detail sanders, discussing their individual strengths and weaknesses. Understanding the specific requirements of your cabinet project is crucial in making an informed decision. For larger flat surfaces, a belt sander may be most effective, while intricate corners and edges of cabinets can benefit from a detail sander’s precision. Moreover, selecting the appropriate grit of sandpaper for each stage of the project enhances the finish and protects the wood quality.
As you prepare to embark on your sanding endeavors, consider the size of the cabinet, the wood type, and the finish you desire. Remember that safety equipment, such as masks and goggles, is essential to protect yourself from dust and particles while working. It is also wise to practice on scrap wood if you’re new to sanding; this will build your confidence and ensure you achieve the desired results. Additionally, patience is key—rushing through the process can lead to mistakes that may require additional time and effort to correct.
Finally, we encourage you to share your experiences or ask questions in the comments section below. Engaging with others who have undertaken similar projects can provide valuable insights and motivation. Whether you are a seasoned DIYer or a novice, selecting the best sander tailored to your needs will undoubtedly lead to successful cabinet projects. By taking the time to assess your options, you empower yourself to create a beautiful finish that enhances your cabinetry for years to come.